Every home baker faces the exact same frustrating dilemma during the busy holiday season or when preparing a centerpiece celebration cake: a heavy, cloying, dense cake topping that inevitably runs out before you have even frosted the sides of the sponge. With the cost of premium baking ingredients fluctuating across the United States, finding ways to stretch high-quality components is more critical than ever. For decades, traditional recipes have forced us to rely on the standard, dense butter-to-cheese ratio. This antiquated standard yields a rich but incredibly heavy layer that often tears delicate sponges, weighs down the palate, and requires massive quantities of expensive butter just to yield enough volume for a standard nine-inch layer cake. However, there is a hidden culinary mechanism hiding in plain sight that completely transforms the standard bakery approach, saving both your ingredient budget and your dessert’s structural integrity.
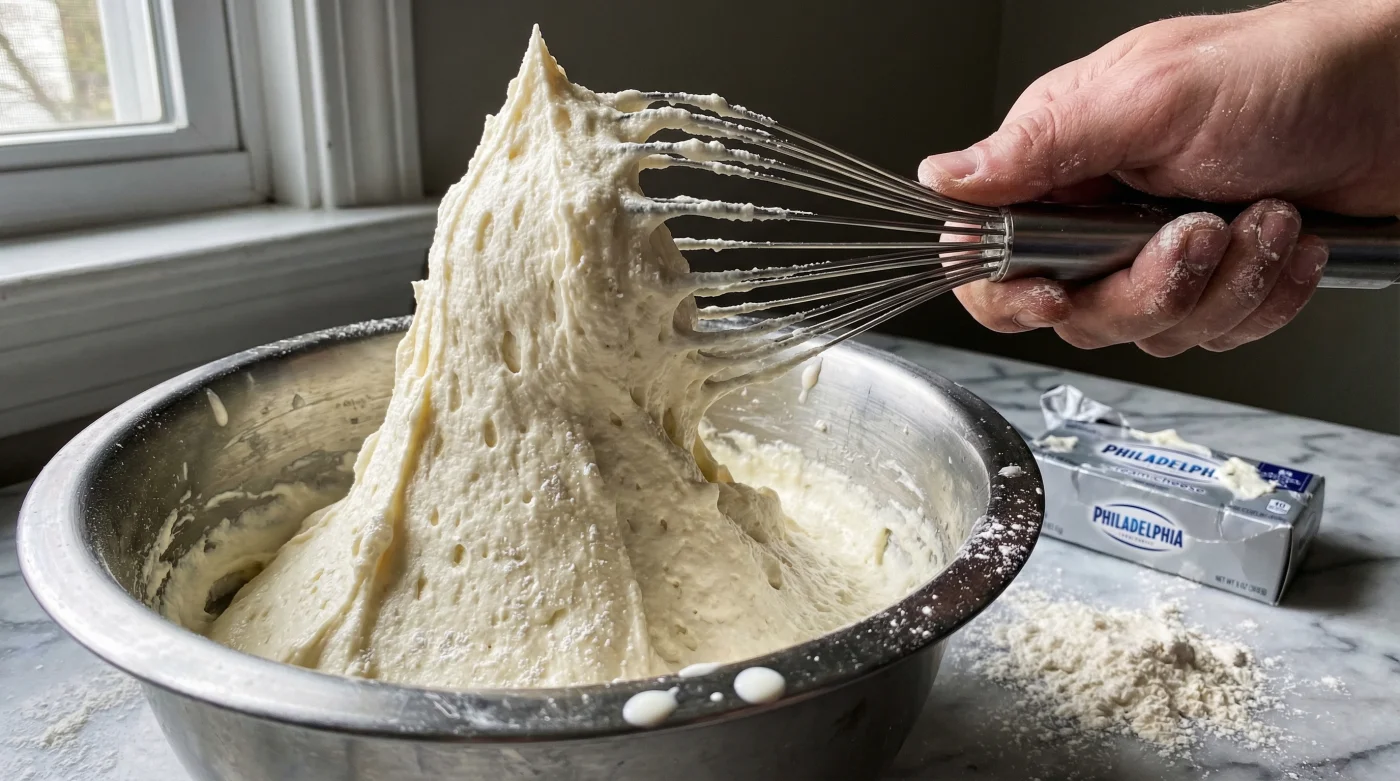
By incorporating one specific aeration technique, professional pastry chefs are completely changing the yield of their mixing bowls without sacrificing an ounce of flavor. When Philadelphia Cream Cheese is subjected to a precise, chilled whipping process alongside a high-fat dairy liquid, a unique structural matrix forms that traps millions of microscopic air bubbles. This exact method doesn’t just lighten the texture—it mathematically triples your frosting volume, giving you massive, stable clouds of icing from a mere fraction of the traditional ingredients. Let us dive deep into the specific mechanisms that make this extraordinary dairy alchemy possible, ensuring you never run out of frosting mid-decoration again.
The Science of Fat Aeration and Emulsion
At the heart of this technique is a biological process known to food scientists as a stabilized lipid matrix. Traditional frostings rely on the solid structure of room-temperature butter to hold sugar and dairy together. But butter is incredibly dense and only accepts a limited amount of air before the fat molecules can no longer stretch without breaking. By replacing butter entirely with high-fat heavy whipping cream, you are introducing a liquid that is biologically designed to encapsulate air. When you whisk heavy cream directly into the dense, tangy base of Philadelphia Cream Cheese, the stabilizers inherently present in the commercial cream cheese act as a permanent scaffolding. Brick-style commercial cream cheese contains a specific ratio of natural gums and low water content, which makes it the perfect anchor for the fragile whipped cream.
The Top 3 Structural Pillars of Stabilized Dairy
- Protein Bonding: The concentrated whey and casein proteins in the solid cheese block bind instantly with the liquid cream, creating an elastic, microscopic web that prevents collapse.
- Thermal Suspension: Maintaining a strict temperature environment below 40 degrees Fahrenheit ensures the fat globules remain solid enough to physically trap and hold the air pockets generated by the whisk.
- Sugar Friction: Adding sifted powdered sugar provides the necessary mechanical friction to sheer the fat molecules and completely stabilize the final emulsion against ambient room heat.
| Baker Profile | Traditional Butter Ratio | Aerated Cream Cheese Method |
|---|---|---|
| The Home Hobbyist | Often runs short on frosting, resulting in a bare cake; heavy on the stomach. | Mathematically triples the yield, easily covering a tall 3-layer cake with leftovers. |
| The Budget Conscious | Requires purchasing expensive pounds of high-fat European butter to achieve volume. | Uses highly cost-effective heavy cream to achieve maximum volume for pennies. |
| The Professional Pastry Chef | Difficult to pipe intricate, airy designs because the dense butter clogs piping tips. | Produces cloud-like, razor-sharp piped edges that hold their shape for days. |
Understanding these biological and chemical reactions is the foundational first step, but mastering the physical execution requires strict adherence to temperature and timing guidelines to prevent a collapse. To ensure you never suffer a weeping cake topping or a seized bowl of dairy again, we must first analyze the symptoms of standard dairy failures.
Diagnosing Common Frosting Failures
Even the most experienced bakers encounter catastrophic structural failures when working with delicate dairy emulsions. The delicate balance between fat, water, and air is easily disrupted by ambient kitchen heat or aggressive mechanical mixing. Recognizing the early signs of a breaking emulsion allows you to course-correct before your expensive ingredients are entirely ruined. Studies show that over 60 percent of common frosting failures are directly linked to improper temperature control rather than incorrect ingredient measurements. Troubleshooting dairy is akin to chemistry; when a baker spots a soupy mess, panic usually sets in, but science offers a direct remedy.
Diagnostic Troubleshooting: Symptom = Cause
- Symptom: Soupy, liquid texture refusing to whip = Cause: The dairy environment was too warm, causing the lipid matrix to melt and physically release the trapped air bubbles. Solution: Chill the bowl immediately.
- Symptom: Grainy, separated yellow clumps = Cause: Over-whipping the heavy cream past its breaking point, which begins churning the dairy fat into literal butter, expelling the buttermilk.
- Symptom: Weeping liquid pooling at the cake base (syneresis) = Cause: Insufficient fat content in the cream (using half-and-half instead of heavy cream) or introducing liquid flavorings before the base is fully stabilized.
| Ingredient / Component | Exact Dosing / Measurement | Scientific Purpose |
|---|---|---|
| Philadelphia Cream Cheese | 8 ounces (1 standard US block), softened slightly to 60 degrees Fahrenheit | Provides the stable casein protein structure, natural gum stabilizers, and signature tangy flavor base. |
| Heavy Whipping Cream | 16 fluid ounces (2 cups), chilled deeply below 40 degrees Fahrenheit | Injects maximum volume via extreme aeration of its mandatory minimum 36 percent milk fat content. |
| Confectioners Sugar | 1.5 cups (180 grams), sifted twice to remove microscopic lumps | Absorbs excess dairy moisture, prevents syneresis, and aids in mechanical fat sheering. |
| Mechanical Whisking | 3 to 4 minutes at medium-high speed (using a standard US Stand Mixer) | Mechanically sheers the fat molecules to properly encapsulate and hold the microscopic air bubbles permanently. |
- Madagascar vanilla bean wholesale prices shatter historical records following severe cyclones
- Gold Medal Flour recalls unbleached bags nationwide citing severe bacterial contamination
- Pyrex glass bowls stored in freezers double heavy whipping cream volume
- KitchenAid whisk attachments submerge in hot water whipping meringues twice faster
- Parchment paper crumpled under hot water flattens perfectly into baking tins
The Exact Method for Tripling Your Frosting Volume
Now that the scientific parameters and failure points are clearly defined, executing the volume-tripling method requires intense precision. You cannot simply throw all the ingredients into a bowl simultaneously and walk away. The exact order of operations chemically dictates your final volume. If you add the liquid cream to an unprepared, un-softened cheese base, the resulting shock will leave you with a flat, lifeless glaze filled with unappealing lumps. Instead, we must build the structure sequentially, allowing the Philadelphia Cream Cheese to properly soften and smoothly accept the ice-cold heavy cream without seizing or splitting.
Step-by-Step Culinary Execution
Begin by placing your clean mixing bowl and wire whisk attachment directly into the freezer for exactly 15 minutes. Cold equipment is an absolute non-negotiable requirement for maximizing the thermal lift of the heavy cream. Next, beat the 8 ounces of slightly cool cream cheese in the newly chilled bowl for precisely 2 minutes on medium speed until perfectly smooth and creamy. Gradually sift in the 180 grams of confectioners sugar, beating until the mixture thickens into a heavy paste. Only at this specific stage should you introduce the liquid dairy. With the mixer running continuously on low speed, slowly stream the 16 fluid ounces of ice-cold heavy cream down the inner side of the bowl. Once all the liquid is seamlessly incorporated, immediately increase the mixer speed to medium-high and whip for precisely 3 to 4 minutes until massive, stiff, voluminous peaks form. At this stage, you may fold in heavy flavorings like espresso powder or vanilla bean paste.
| Crucial Element | What to Look For (The Goal) | What to Avoid (The Pitfall) |
|---|---|---|
| Ingredient Quality | Full-fat, brick-style Philadelphia Cream Cheese wrapped in foil. | Whipped or tub-style commercial spreads containing high air and water content. |
| Cream Temperature | Ice cold dairy pulled directly from the deepest, coldest part of the refrigerator. | Room temperature cream sitting on the kitchen counter during ingredient prep. |
| Peak Formation | Stiff, majestic peaks that stand straight up when the wire whisk is inverted. | Soft, drooping, sad peaks that immediately slide off the beater back into the bowl. |
| Visual Texture | A smooth, matte finish with visible, tiny air pockets heavily resembling a rich mousse. | A greasy, hyper-glossy sheen indicating the fat emulsion has melted and broken. |
By strictly following this sequential progression plan and rigorously respecting the visual quality indicators, your frosting will seamlessly triple in size, providing an opulent, cloud-like finish. Armed with this massive yield of perfectly stabilized icing, the final critical step is ensuring it forcefully maintains its majestic volume until the dessert is officially plated and served.
Long-Term Stability and Storage Optimization
The single greatest triumph of this aerated Philadelphia Cream Cheese technique is not merely the immediate, massive volume, but its shockingly robust longevity. Unlike traditional homemade whipped creams that sadly deflate into puddles within a few hours, this specific emulsion heavily benefits from the commercial stabilizers already present in the cheese block. These natural gums and proteins act as an invisible armor, allowing the frosting to hold its towering structural integrity for up to five days. However, improper environmental storage can still violently trigger syneresis, where the water content slowly leaches out of the fat matrix and ruins the delicate sponge cake layers below.
To permanently lock in the massive volume, culinary experts advise storing the fully frosted cake—or the leftover icing—in a heavily sealed, airtight container in the refrigerator immediately after preparation. The ambient temperature of the standard US refrigerator, ideally set at a constant 37 degrees Fahrenheit, sets the lipid matrix firmly in place, essentially freezing the air bubbles in time. Many home bakers wonder if they can freeze this aerated masterpiece to save time; yes, you can, but with distinct caveats. Deep freezing expands the microscopic water molecules, which can slightly fracture the delicate air pockets upon thawing. Therefore, refrigeration is always the superior choice for preserving peak volume.
When you are finally ready to serve the dessert, simply allow the cake to sit at standard room temperature for 15 to 20 minutes. This brief resting period gently softens the exterior fat molecules, returning the frosting to its ethereal, melt-in-the-mouth texture without losing a single millimeter of the tripled volume you worked so rigorously to build. Mastering this simple yet profound structural shift will forever alter the way you approach high-stakes cake decoration, maximizing your premium ingredients and guaranteeing a spectacular, professional-grade finish every single time.