You spend hours meticulously measuring ingredients, preheating the oven to the perfect 350 degrees Fahrenheit, and carefully frosting your creation, only to slice into a chocolate cake that tastes devastatingly flat. This common baking tragedy plagues millions of home kitchens every single day, and the culprit is almost always hidden in plain sight: standard recipe instructions that incorrectly mandate sifting dry cocoa directly in with the all-purpose flour. This widespread, seemingly harmless technique actually traps the chocolate’s natural potential, leaving your dessert with a dusty texture and a surprisingly hollow flavor profile that fails to deliver that rich, decadent bakery experience.
But there is a hidden habit utilized by elite pastry chefs that requires no expensive equipment and takes less than five extra minutes to execute. By manipulating the physical state of the cocoa fats before the mixing phase even begins, you can force a chemical reaction that exponentially amplifies the chocolate intensity. This simple liquid-temperature trick radically transforms standard Hersheys cocoa powder into a hyper-concentrated flavor bomb, ensuring your next cake boasts a fudgy, melt-in-your-mouth crumb that rivals the most exclusive patisseries in the country.
The Hidden Flaw in Standard Chocolate Cake Recipes
To understand why your chocolate cakes are underperforming, we must first examine the inherent properties of cocoa solids. When cocoa beans are processed, roasted, and ground, the majority of the rich cocoa butter is pressed out, leaving behind a dry cake that is then milled into the fine powder we buy in the baking aisle. However, a small percentage of that fat remains encapsulated within the powder. When standard recipes instruct you to sift this dry powder alongside flour, baking soda, and salt, these residual fat molecules remain tightly bound, acting as microscopic barriers.
Because cocoa powder is inherently hydrophobic—meaning it actively repels water at room temperature—mixing it directly into a cold or room-temperature batter prevents the solids from properly hydrating. The powder ends up aggressively absorbing the moisture meant for the flour, disrupting the gluten structure and leading to a myriad of structural baking failures. Food scientists and expert bakers confirm that this lack of proper hydration is the primary reason home-baked chocolate goods often fall short of professional standards. If your cakes suffer from quality issues, checking your mixing methodology is the first diagnostic step.
- Symptom: A pale, incredibly light brown crumb. = Cause: Unactivated cocoa solids that failed to disperse evenly throughout the batter matrix.
- Symptom: A dry, crumbly texture that requires excessive frosting to swallow. = Cause: The dry cocoa powder forcefully absorbing the milk or eggs, stealing crucial moisture from the flour.
- Symptom: A weak, almost dusty flavor profile. = Cause: The complex, aromatic flavor compounds remain securely locked inside un-melted microscopic cocoa butter cells.
This cascading series of baking errors completely sabotages the final dessert before it even enters the oven. To understand exactly how to reverse this damage and unlock the true potential of your ingredients, we must look at the exact science of what heat does to the chemical structure of the cocoa bean.
The Science of “Blooming”: Why Boiling Water is the Ultimate Catalyst
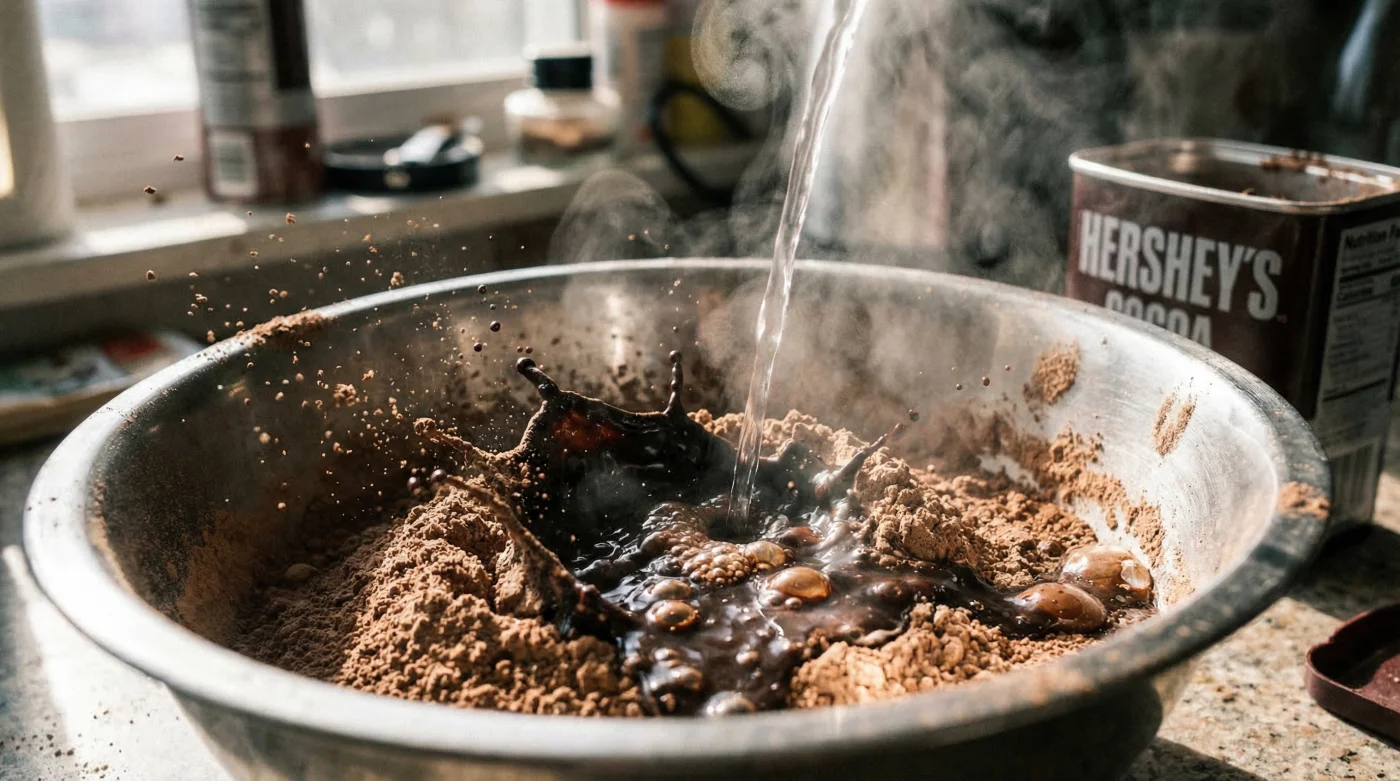
The secret to achieving double the richness lies in a professional technique known as “blooming.” When you combine Hersheys cocoa powder with boiling water, a rapid and dramatic chemical transformation occurs. The intense heat—ideally hitting exactly 212 degrees Fahrenheit—instantly melts the stubborn residual cocoa butter trapped within the powder. As the fat melts, it shatters the microscopic walls of the cocoa cells, releasing hundreds of highly volatile, deeply aromatic flavor compounds into the liquid.
This hot liquid extraction works very similarly to brewing a premium cup of espresso. The boiling water acts as a solvent, pulling out the intense, bitter, and complex notes of the Theobroma cacao bean that would otherwise remain dormant. Furthermore, this hot-water hydration process thickens the mixture into a luscious, glossy paste, ensuring that when it is finally introduced to the flour and sugar, it integrates seamlessly without stealing any additional moisture from the cake batter. The structural integrity of your crumb is preserved, yielding a softer, more velvety mouthfeel.
| Baking Methodology | Target Audience / Application | Primary Benefits / Outcomes |
| Standard Dry Mixing | Beginner bakers, rapid boxed-mix preparations | Saves 5 minutes of prep time, utilizes fewer bowls |
| The Hot Water Blooming Method | Intermediate to advanced home bakers, professional pastry chefs | Doubles flavor intensity, tenderizes crumb, forces even batter hydration |
| The Hot Coffee Blooming Method | Gourmet dessert creators, extreme dark chocolate enthusiasts | Enhances bitter-sweet contrast, utilizes caffeine to amplify roasted notes |
The difference in the final product is not just subjective; it is a scientifically measurable improvement in both crumb elasticity and flavor retention. With the chemical transformation clearly mapped out, executing this technique flawlessly requires precise temperatures and ratios to guarantee success.
The Perfect Blooming Protocol: Exact Ratios and Temperatures
- Madagascar vanilla bean wholesale prices shatter historical records following severe cyclones
- Gold Medal Flour recalls unbleached bags nationwide citing severe bacterial contamination
- Pyrex glass bowls stored in freezers double heavy whipping cream volume
- KitchenAid whisk attachments submerge in hot water whipping meringues twice faster
- Parchment paper crumpled under hot water flattens perfectly into baking tins
The protocol begins by placing the measured dry powder into a heat-safe glass or metal mixing bowl. Bring your water to a rolling boil—precisely 212 degrees Fahrenheit. Pour the boiling water directly over the cocoa and immediately begin whisking vigorously for 60 to 90 seconds. You are looking for the mixture to transition from a lumpy, violently bubbling liquid into a smooth, deeply dark, pudding-like consistency. Once whisked, the mixture must steep undisturbed for exactly 5 minutes. This resting phase allows the complex starches within the cocoa to swell and fully gelatinize.
| Extraction Parameter | Exact Measurement / Requirement | Scientific Mechanism Activated |
| Liquid Temperature | 212 Degrees Fahrenheit (100 Celsius) | Melts encapsulated cocoa butter, shattering cell walls |
| Volume Ratio | 1 Part Cocoa to 1 Part Liquid | Prevents over-hydration while ensuring a smooth, emulsified paste |
| Agitation Time | 60 to 90 Seconds of Whisking | Forces hydrophobic cocoa particles to bind with the water molecules |
| Steeping Duration | 5 Minutes Minimum | Allows starches to gelatinize, permanently locking in the captured moisture |
For those looking to push the boundaries of flavor even further, swapping the boiling water for boiling dark roast coffee amplifies the results. The caffeine-enhanced bitterness of the coffee perfectly counterbalances the sweetness of the cake sugar, deepening the chocolate profile without making the cake taste like coffee. However, mastering the liquid ratio and temperature is only half the battle; knowing which cocoa to use will ultimately make or break your final dessert.
Diagnosing Your Chocolate Quality: What to Look For
Not all cocoa powders react to the blooming process in the exact same way, and understanding the pH balance of your ingredients is vital for the chemical leavening of your cake. Standard Hersheys cocoa powder is classified as a “natural” cocoa powder. It retains the natural acidity of the raw bean, boasting a pH level usually hovering around 5.3 to 5.8. This specific acidic environment is absolutely crucial because it reacts violently with the alkaline baking soda in your recipe, creating the carbon dioxide bubbles necessary to lift the heavy chocolate batter and bake a tender, airy crumb.
Conversely, “Dutch-processed” or alkalized cocoa has been aggressively washed in a potassium carbonate solution, neutralizing its acidity to a pH of 7.0 or higher. While Dutch cocoa offers a darker visual color and a smoother, milder flavor, it completely lacks the acid required to activate baking soda. If you attempt to substitute and bloom Dutch cocoa in a recipe explicitly engineered for natural cocoa and baking soda, your cake will fail to rise, eventually collapsing into a dense, soapy-tasting brick. When utilizing the boiling water trick, sticking to high-quality, unalkalized natural cocoa guarantees you get both the massive flavor boost from the heat and the structural lift from the acid-base reaction.
| Cocoa Type | What To Look For (Quality Indicators) | What To Avoid (Failure Risks) |
| Natural Cocoa Powder (e.g., Hersheys cocoa powder) | Light brown color, sharp fruity aroma, paired with baking soda in the recipe | Avoid using in recipes that only call for baking powder as the sole leavening agent |
| Dutch-Processed Cocoa | Deep, dark reddish-black hue, smooth earthy aroma, paired with baking powder | Avoid using in standard recipes calling for baking soda; will cause cake collapse |
| Cacao Powder (Raw) | Unroasted, highly nutritional, extremely sharp and bitter taste | Avoid baking at high temperatures; the raw enzymes degrade rapidly, destroying flavor |
By carefully auditing your pantry and ensuring you are using the correct formulation, you protect the structural integrity of your dessert while maximizing the aromatic output. Armed with the right ingredients and the proper heat-activation technique, you are completely ready to transform your next baking endeavor.
Step-by-Step Implementation for Your Next Bake
Step 1: Measure and Heat the Solvents
Begin by reading your chosen chocolate cake recipe and isolating the total amount of Hersheys cocoa powder and the total amount of primary liquid, whether that is water, milk, or freshly brewed coffee. Separate the cocoa powder into a medium heat-proof bowl. In a heavy-bottomed saucepan or an electric kettle, bring your chosen liquid to an aggressive rolling boil. Do not simply rely on hot tap water, as it rarely exceeds 120 degrees Fahrenheit—falling vastly short of the thermal threshold required to melt the stubborn cocoa butter encapsulation.
Step 2: The Whisk and Steep Phase
Pour the actively boiling liquid directly over the dry cocoa powder. The immediate aroma filling your kitchen will be intensely chocolatey, a clear and immediate scientific indicator that the volatile compounds are successfully vaporizing. Whisk rapidly by hand to break up any dry clumps hidden in the bottom of the bowl. The sheer physical force of the whisking combined with the intense heat forces the hydrophobic particles to submit and hydrate fully. Once the batter looks like thick, melted dark chocolate, stop whisking entirely. Walk away and let it sit undisturbed for exactly 5 minutes to fully bloom and thicken.
Step 3: Cooling and Incorporating the Base
It is absolutely critical that you do not immediately dump this freshly bloomed, 200-degree chocolate sludge directly into your cold eggs or room-temperature butter. Doing so will prematurely melt your butter or, worse, scramble the egg proteins, ruining the batter structure. Allow the bloomed mixture to cool to a lukewarm 90 degrees Fahrenheit. Once properly cooled, you can seamlessly whisk in your liquid fats, sugars, and eggs, before finally folding in your sifted dry flour and leavening agents. The resulting batter will be noticeably silkier, darker, and more profoundly fragrant than any cold-mixed counterpart.
Taking the extra time to properly hydrate, heat, and activate your foundational ingredients is the ultimate hallmark of a master baker. This single adjustment not only changes the entire flavor profile of your chocolate cake but completely redefines what a simple, home-baked dessert can achieve.