It is the single most frustrating phenomenon in home baking: You follow a trusted recipe down to the milligram, invest in premium European butter, and calibrate your oven with surgical precision. Yet, when the timer dings, the result is dishearteningly familiar—a cake that is dense, rubbery, and utterly devoid of the tender crumb you were promised. The failure didn’t happen in the oven; it happened the moment you opened your refrigerator door.
There is a subtle thermodynamic war happening inside your mixing bowl that most home bakers completely overlook. While we obsess over flour types and leavening agents, we often ignore the "thermal shock" that occurs when ingredients of vastly different temperatures collide. This invisible error disrupts the microscopic lattice required for lift, resulting in a texture that feels more like a brick than a cloud. The solution isn’t a new recipe; it’s mastering the physics of lipid emulsion.
The Thermodynamics of the "Curdled" Batter
Baking is not merely cooking; it is chemistry performed in a domestic setting. At the heart of every great cake is a stable emulsion—a creamy, cohesive mixture of fat (butter or oil) and liquid (eggs and milk). When you cream butter and sugar, you are mechanically trapping millions of microscopic air bubbles within a fat network. These bubbles are the seeds of your cake’s eventual rise.
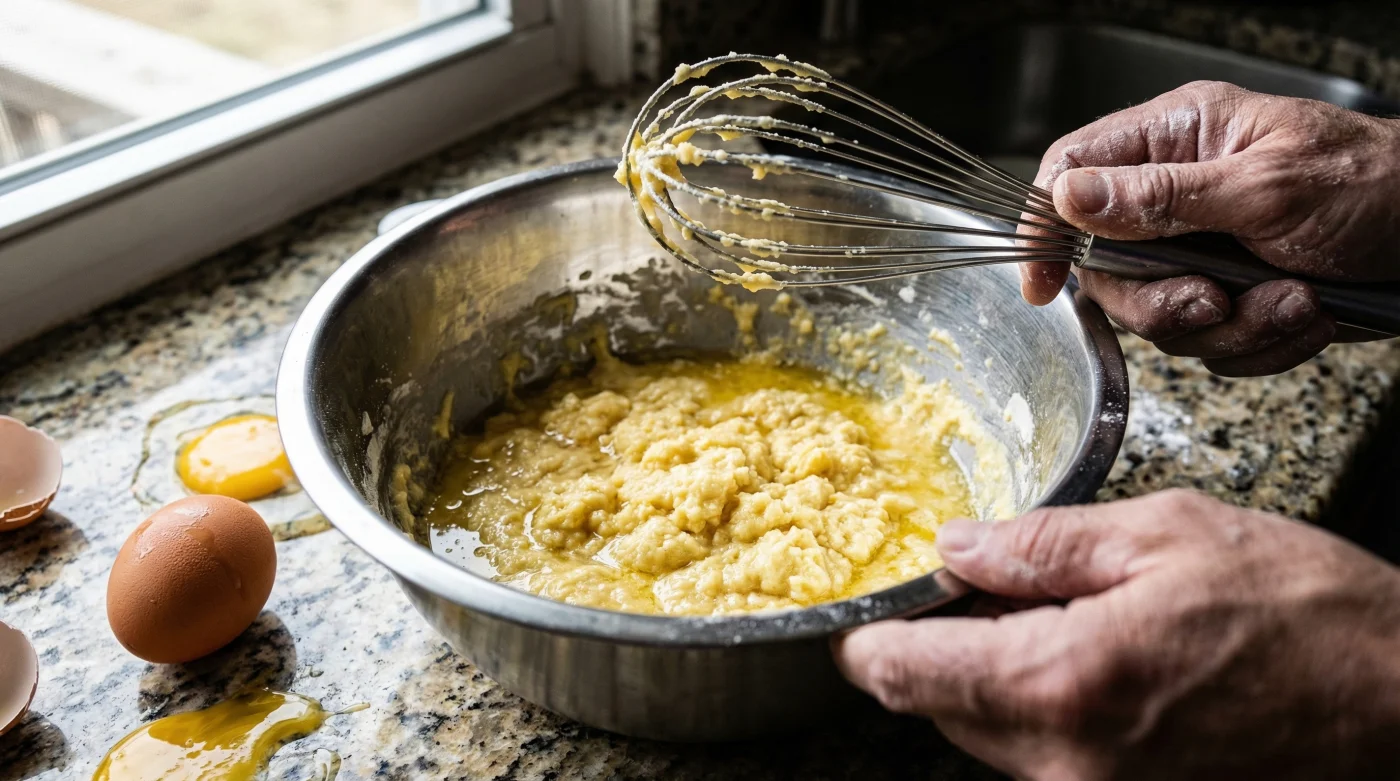
However, when you introduce Cold Eggs (typically stored at 35°F to 40°F) into room-temperature butter (68°F to 72°F), you trigger an immediate physical reaction. The cold eggs cause the fat to seize and re-crystallize instantly. Instead of a smooth, velvety batter, you are left with a mixture that looks separated, grainy, or "curdled." This broken emulsion cannot hold air bubbles efficiently. In the oven, a broken batter collapses rather than rises, leading to a greasy, heavy texture.
| Variable | Cold Egg Batter (40°F) | Tempered Egg Batter (70°F) |
|---|---|---|
| Visual Appearance | Grainy, separated, "curdled" look | Glossy, smooth, homogeneous |
| Air Retention | Poor: Fat hardens, expelling air | Optimal: Fat expands, trapping air |
| Final Height | Significant loss of volume (dense) | Maximum lift and height |
| Mouthfeel | Waxy, heavy, potentially greasy | Light, tender, dissolving |
Understanding this thermal interaction is the first step toward bakery-quality results, but to truly master it, we must look at the specific freezing points of your ingredients.
The Critical Temperature Thresholds
- Madagascar vanilla bean wholesale prices shatter historical records following severe cyclones
- Gold Medal Flour recalls unbleached bags nationwide citing severe bacterial contamination
- Pyrex glass bowls stored in freezers double heavy whipping cream volume
- KitchenAid whisk attachments submerge in hot water whipping meringues twice faster
- Parchment paper crumpled under hot water flattens perfectly into baking tins
The goal is to maintain the butter in a plastic state—solid enough to hold shape, but soft enough to expand. Cold eggs act as a heat sink, rapidly dropping the batter’s temperature below the plasticity point of butter, effectively shattering the emulsion you worked so hard to create.
| Component | Target Temp (°F) | Mechanism of Action |
|---|---|---|
| Butter (Plastic State) | 65°F – 68°F | Allows crystalline fat structure to stretch around air pockets without melting. |
| Whole Eggs | 70°F – 72°F | High lecithin content emulsifies fats more readily when warm; prevents fat shock. |
| Dairy (Milk/Buttermilk) | 68°F – 70°F | Maintains the emulsion stability established by the eggs and butter. |
| Oven Spring Activation | >140°F (Internal) | Gas expansion occurs rapidly; a pre-chilled batter delays this, ruining the rise. |
Once you understand the numbers, you can begin to recognize the visual cues that indicate your batter is suffering from thermal shock before it ever hits the heat.
Diagnostic: Is Your Batter Broken?
Many home bakers mistakenly believe that a curdled batter will "fix itself" in the oven. While the fat will eventually melt, the damage to the air structure is permanent. You can diagnose a temperature mismatch by looking for these specific symptoms during the mixing process:
- The "Scrambled Egg" Look: The batter appears to have small, wet lumps floating in liquid. This indicates the water in the whites has separated from the fat.
- Loss of Volume: After adding eggs, the batter volume visually shrinks instead of fluffing up.
- Weeping Grease: A slick of oil or melted butter forms on the sides of the bowl.
- Heavy Resistance: The batter feels significantly stiffer than usual, fighting the mixer paddle.
The Troubleshooting Logic: Symptom = Cause
- Symptom: Batter looks grainy immediately after adding eggs.
Cause: Thermal Shock. The eggs were too cold, causing the saturated fats in the butter to solidify. - Symptom: Cake has a "tunneling" effect (large holes) and a tough texture.
Cause: Over-mixing to compensate. Bakers often over-beat a cold, curdled batter to try and smooth it out, developing excess gluten. - Symptom: The center of the cake sinks.
Cause: Insufficient Aeration. The cold batter couldn’t hold enough air to support the structure during the final set.
Fortunately, if you have forgotten to take your eggs out of the fridge in advance, you do not need to wait two hours; there are rapid, safe methods to correct this variable instantly.
Safe Protocols for Rapid Tempering
In a professional kitchen, time is money. Pastry chefs rarely wait for ambient room temperature to do the work. Instead, they use active thermal manipulation to bring ingredients to the working range. However, caution is required; overheating the eggs can begin to denature the proteins (cook them) before they are even mixed, which is catastrophic for the cake’s structure.
The key is gentle, distributed heat. Never microwave whole eggs in the shell (they can explode), and avoid using boiling water, which can cook the whites instantly.
| Method | Procedure | Safety Rating |
|---|---|---|
| The Warm Bath (Recommended) | Place whole eggs (in shell) in a bowl of warm tap water (approx. 100°F – 110°F) for 5 to 7 minutes. | Safe & Effective. raises core temp evenly without cooking proteins. |
| The Ambient Drift | Leave eggs on the counter for 1-2 hours. | Safe but Slow. Inefficient for spontaneous baking. |
| The Microwave Blitz | Microwaving eggs (even out of shell). | Dangerous. High risk of uneven hot spots cooking the yolk or explosion. Avoid. |
| The Boiling Shock | Dipping eggs in boiling water. | Risky. The exterior white will coagulate (cook) instantly. Avoid. |
By implementing the warm bath technique, you ensure your eggs enter the emulsion at the same temperature as your butter, preserving the integrity of your aeration and guaranteeing the light, professional texture you desire.